NCFE Graphics Unit Evaluation – By Alex Malam 24/04
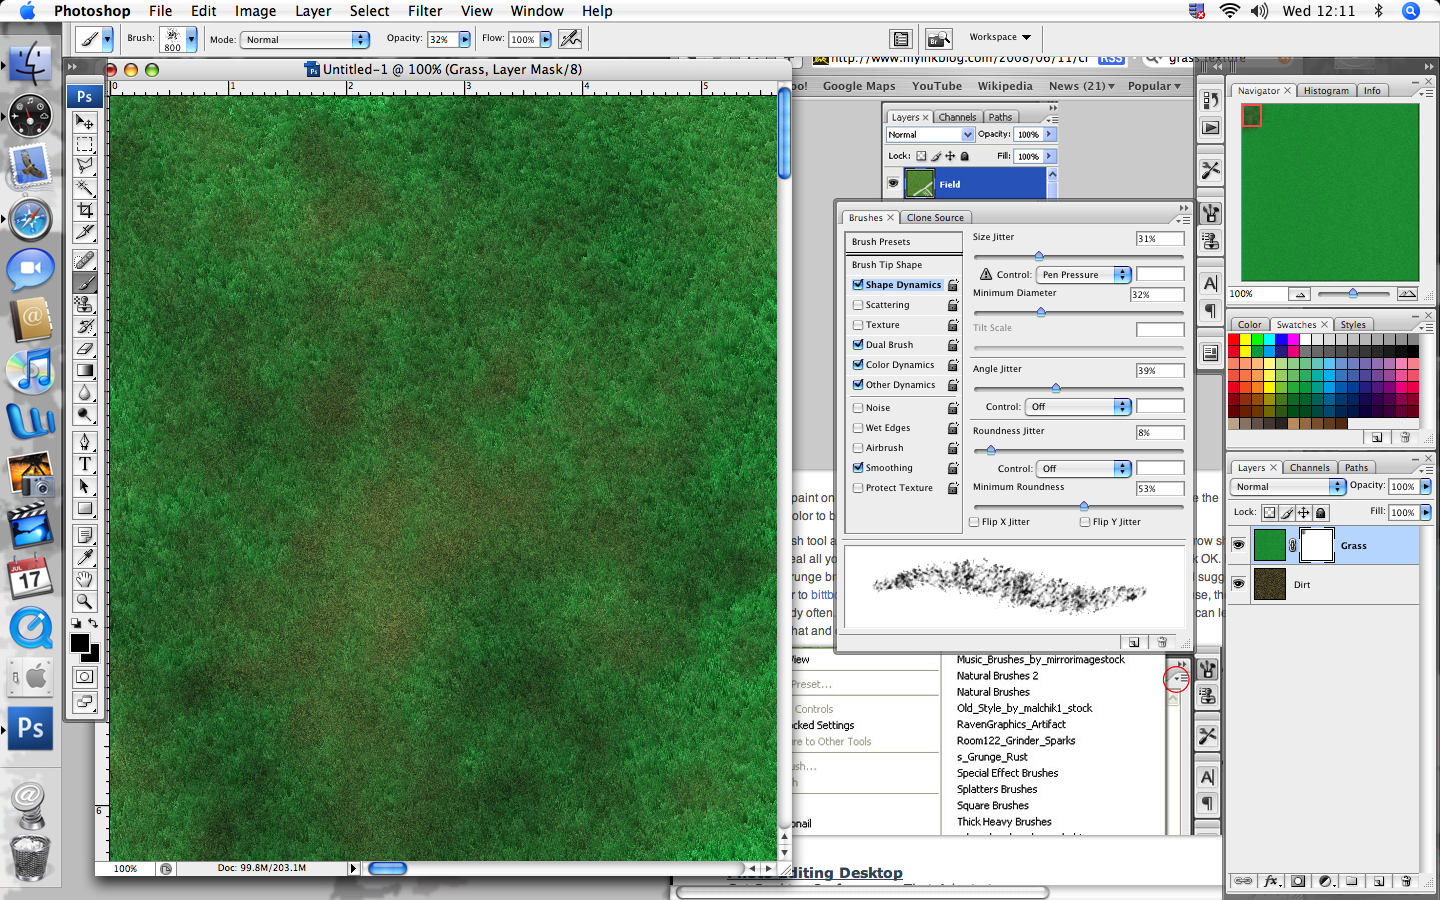
1. At the start of the unit we made a pop book, which included a variety of pops, which we could then be used later in our final piece. By doing this it gave me a better idea of how pops could me manipulated and changed to make new designs. For example, one of the pops I made is the ‘twisting mechanism’. I later then developed this into a red card pop twisting out the page. By starting off this way we gained experience in folding, cutting, scouring, developing ideas and presentation skills. At first, it was hard to get your head around the way pops worked. However once we had practiced and overcome these difficulties it all became very easy. We could then individually design our on pops and make them more advanced. The benefits of hands on work are that you can feel it in your hands, everything is to scale and you get a more accurate vision of the final piece. We gained a lot of skills and experience from making these small pop up books. On Photoshop and illustrator I made a cartoon pirate. Making this used a wide range of skills. After making this cartoon pirate I know understand the process of how to use Photoshop. It was difficult at start to get used to all the tools and where they were to use, but after using illustrator and Photoshop for a while I soon got the hang of where all the tools were and what they do. The benefits of knowing how to use Photoshop actually helped me to make my pop up book.
2. An artist I have studied while making my pop-up book is Martin Hanford, Martin Hanford created all the ‘Where’s Wally’ picture book series and I wanted to try and reconstruct some of his ideas into my book. I liked how he made all the cartoons densely positioned next to each other, I then thought that this style would work very well as the football crowd, so this then inspired me to use this style of work.
3. I used photoshop to deign my final book, I have printed out all the backgrounds, and then I created my pops, there were some problems, first – normal glue doesn’t glue photo paper together, so I then had to used double sided tape and I have to spend more time because the tape isn’t as easy to use as glue. My second problem was the printer, the printer is not set up for photo paper, when I printed the backgrounds out, the result wasn’t as I expected, so I did some trial and error by using different types of paper and printer settings and managed to print out the book in OK quality.
4. Throughout the project everything went reasonably well. I combined photoshop and hands on work together to get the final product. We had problems with the printer throughout, but these were easily resolved with acrylic. My pop up pie went particularly well and the whole pop-up book works fine.
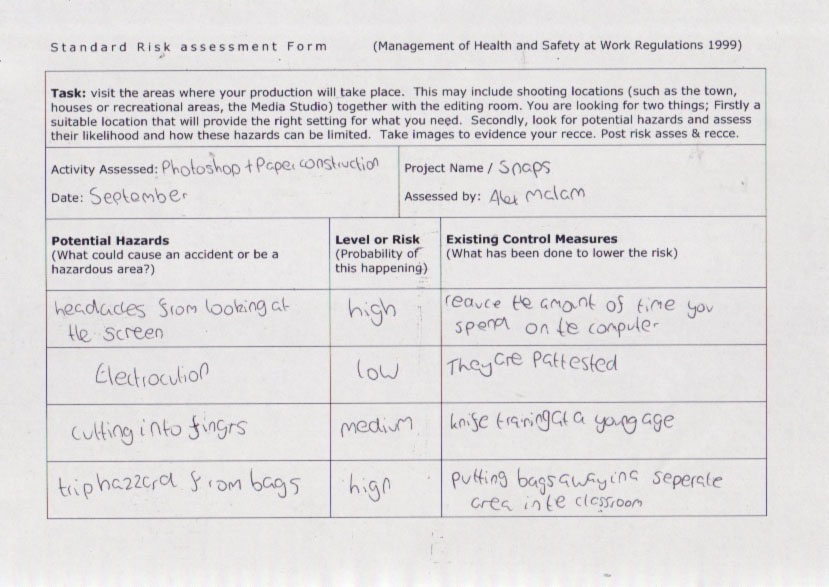
5. There are many safety precautions that I need to know when making my product for example: 1) Scissors could be a hazard as you might cut yourself when using them if you are not sensible with them. 2) Craft knife could be a hazard as you could cut yourself and you should also ever cut towards yourself. 3) Macs could be a hazard if you accidentally spilt water on them. 4) Do not run in the classroom as you could fall over and you may hurt yourself or another member of the class.